
The laptop stand is a must-have item for everyone who has to work all day on their laptop. Especially if you have to work while lying in bed, then having a sturdy DIY laptop stand is very important, because the angle and position of your screen matter a lot. The worst thing you can do is place your laptop right in front of your eyes without any support. It will cause neck strain, eye problems, back pain, and many other health issues in the long run. So it’s always better to buy or make an ergonomic laptop stand that suits your needs perfectly.
A laptop stand is a useful tool that can enhance your productivity.
A laptop stand is a useful tool that can enhance your productivity while you are working on a laptop. Whether you want a laptop stand for your bed, desk, or table, consider these homemade ideas to DIY an ergonomic and cheap laptop stand for yourself.
You can make a laptop stand for a bed, desk, or table
Just grab some pieces of wood and glue them together to make this simple DIY Laptop stand in less than 10 minutes. It is easily adjustable and widely customizable.
- Use a saw to cut the wood
- Use a drill to make holes in the wood
- Use glue to stick the pieces together
- Screw them together with a screwdriver (or you could use screws) if you have one handy, but this is not necessary
- File off any rough edges, and sandpaper down any sharp edges
Wooden Laptop Stand
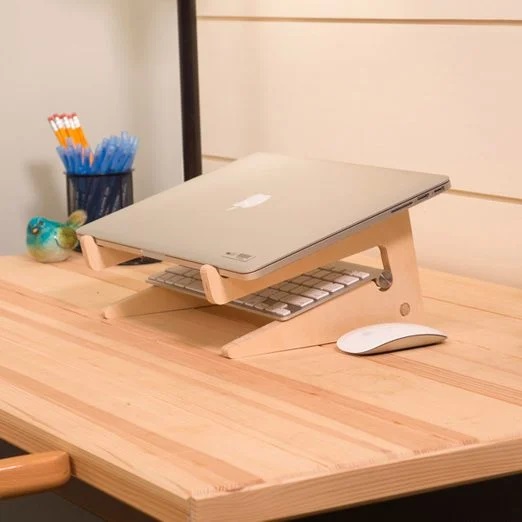
This is yet another wooden laptop stand that looks stunning with the brown wood color and angular design. However, it’s lightweight and portable due to the use of plywood only.
While this laptop stand is more complicated than other DIY stands, it’s worth all of the extra effort. Made of plywood and a few other materials, this laptop stand has a stunning design that’s easily adjustable and customizable. Plus, it’s lightweight and portable due to the use of plywood only.
PVC Laptop Stand
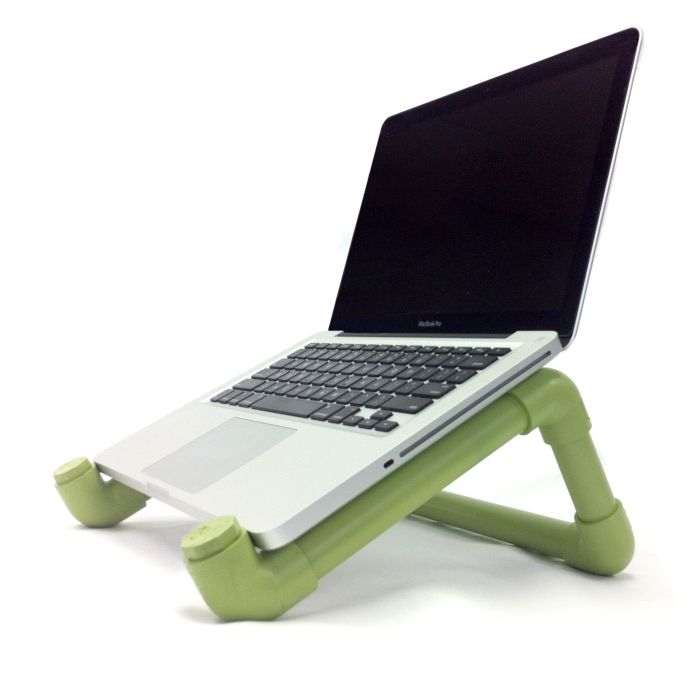
Use PVC pipes to create this stable angled stand for your laptop with an adjustable tilt angle for better ergonomics.
A stand for your laptop is a must-have accessory. It can be used to elevate the screen and prevent neck strain, improve ergonomics, and more. I’ve seen many DIY designs on the web, but I’m going to show you my favorite one which features PVC pipes as its primary component.
PVC pipes are cheap and easy to find in any home improvement store. You can use a pipe cutter or hacksaw to cut them into smaller pieces before assembling them into an angled stand for your laptop. If you’re lucky enough to have access to a miter saw or jigsaw, then these tools will make it much easier for you to get those angled cuts right on the mark!
Aluminum Laptop Stand
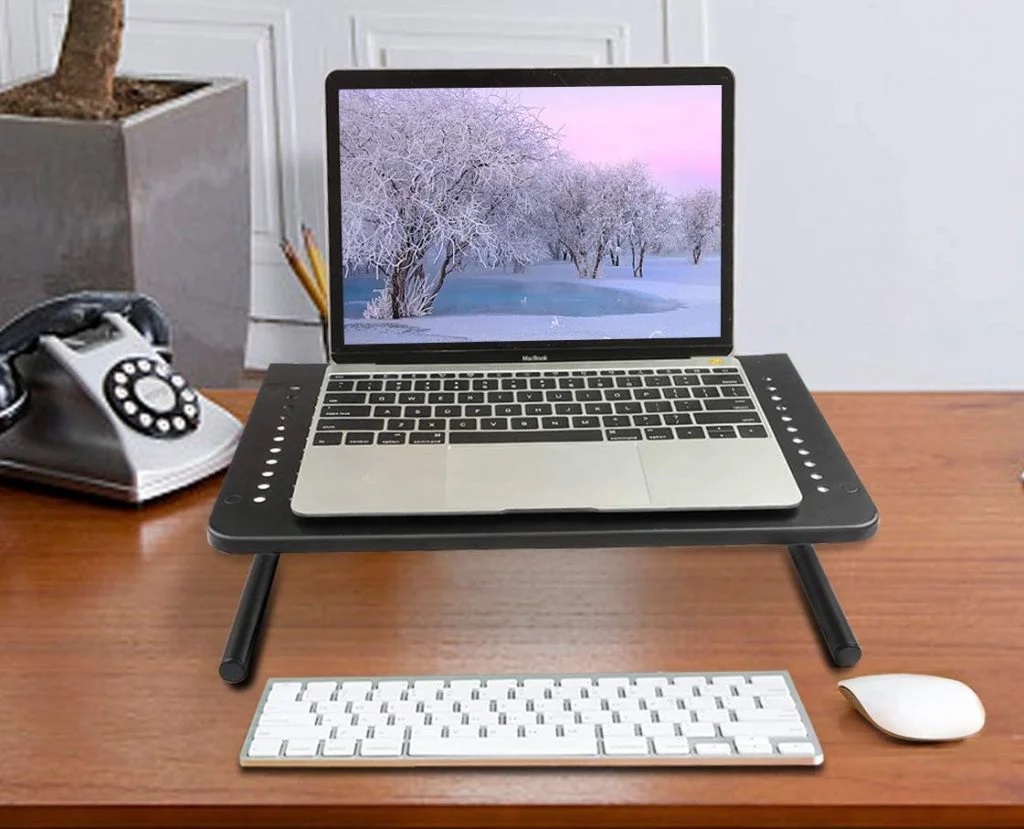
Anodized aluminum is not just stylish but very durable as well. Check out this homemade aluminum laptop stand tutorial to make one for yourself.
If you’re looking for a way to add some style and durability to your DIY laptop stand, anodized aluminum is a great choice. Anodizing is a chemical process that makes the aluminum harder and more corrosion resistant—not just stylish, but very durable as well. Anodized aluminum is used in lots of DIY projects because it’s so affordable and easy to work with; it’s also popular in outdoor furniture because it doesn’t fade when exposed to UV rays as other metals do.
Book Laptop Stand

Who would have thought that we could put books to more use than reading? Well, if you are on a tight budget and want an ergonomic DIY laptop stand then consider making one out of a book!
Using the front cover of a book will provide the most support for your computer and prevent it from falling over. Hardcover books are not necessary but they do provide more stability than softcover versions. The best part is that you can find these at thrift stores or garage sales for just a few dollars!
Upgraded PVC Laptop Stand
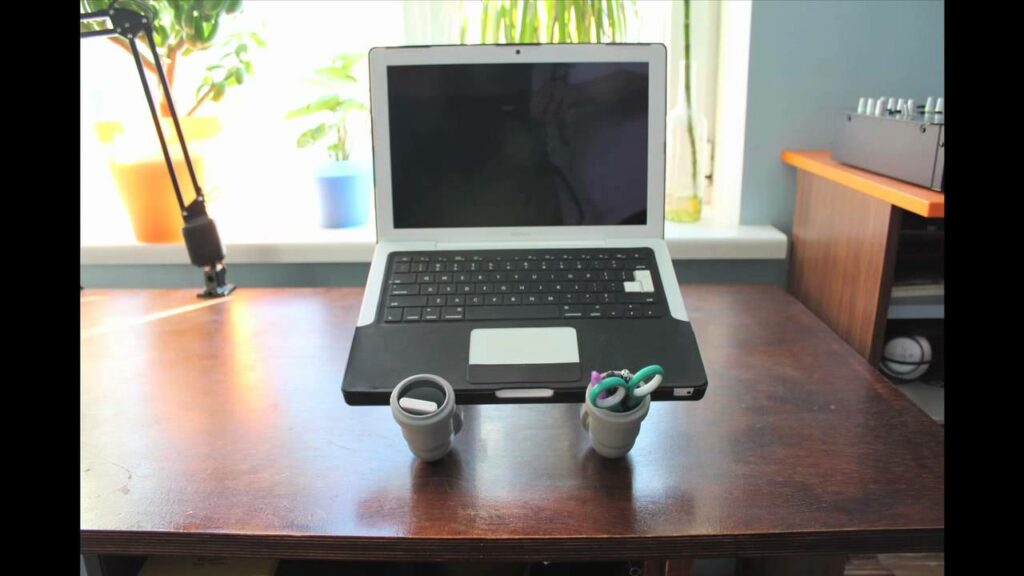
This is an updated version of the PVC laptop stand where the parts are connected using a pipe cutter resulting in a more stable structure without any gaps between the pieces.
The PVC pipe cutter is a very handy tool that can be used to cut and shape PVC pipes. You will find it at any hardware store and the price varies from one brand to another. It is a good idea to use this “Dremel” as a tool because it allows you to cut the PVC pieces with precision, meaning there won’t be any gaps between them that may cause instability. In addition, this method of connection results in fewer cuts as opposed to using an electric saw which makes for less work on your part and more stability for your laptop stand!
Curved DIY Laptop Stand

Grab some pine boards in this weekend project to make this curved DIY laptop stand. This one is really easy to make and allows you to work in the right position without causing back problems like those traditional stands do.
The first step is to grab some pine boards for this weekend project to make this curved DIY laptop stand. This one is really easy to make and allows you to work in the right position without causing back problems like those traditional stands do.
The materials you will need for this project are:
- 3 pieces of wood that are 2 feet long, 2 inches wide, and 4 inches thick (you can use plywood or any other kind of wood)
- Wood glue
- A drill with a 3/8″ drill bit (not included in materials)
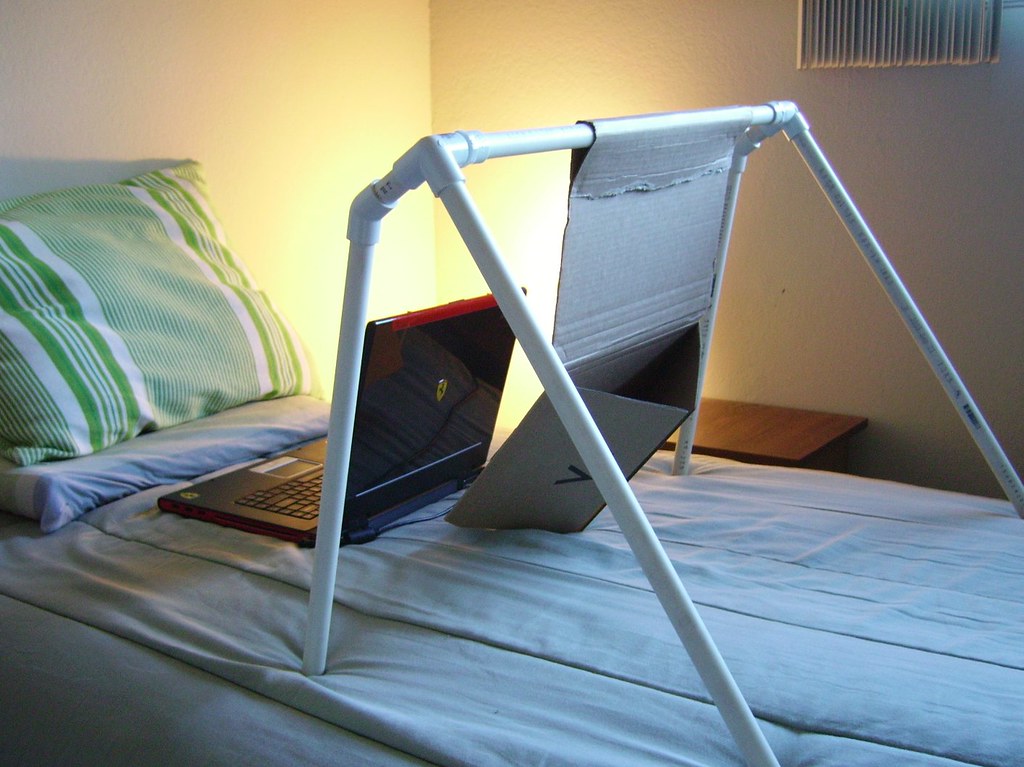
Pipe Laptop Stand
Here is how to make your own DIY Pipe Laptop Stand.
Step 1. Measure the length, width, and height of your laptop.
Step 2. Cut a piece of pipe that will fit perfectly in the size of your laptop (e.g., if you have an 11″ screen, then cut a piece that is 11″. If you want to make it longer, just add another piece of pipe).
Step 3. Use duct tape or another strong tape to secure the two ends of the pipe together (so that they don’t move around). This will allow the pipe to support more weight than just one end could handle alone. Also, make sure there are no sharp edges because you don’t want anything scratching your laptop!
Step 4. Attach a solid surface (like wood or plastic) onto which you can place your laptop so that it doesn’t slide around when you’re not using it (e.g., use a tabletop or even cardboard).
Plywood Laptop Stand
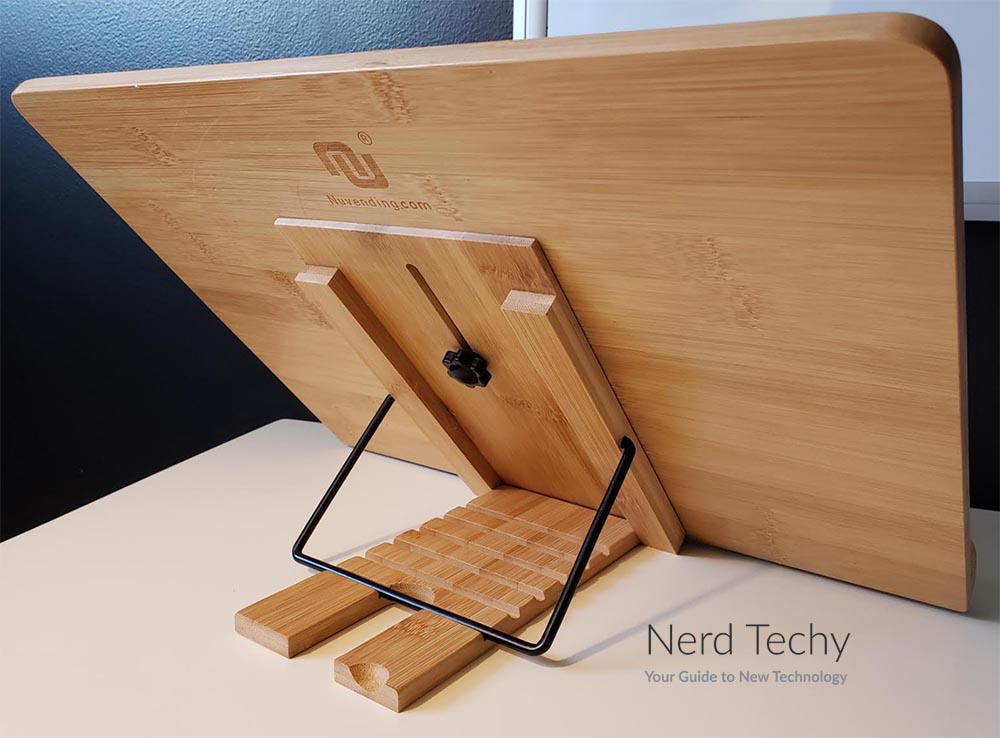
This is a simple, DIY laptop stand that you can make using plywood, a few tools, and some glue. The goal of this project is to create a handy device that will help you keep your laptop in one place while it’s charging or working.
The following tutorial will show you how to make a plywood laptop stand.
Step 1: Cut the plywood into three pieces, each measuring 6 inches wide by 1 inch thick.
Step 2: Cut one end of each piece at an angle so that it’s 45 degrees from vertical.
Step 3: Glue the three pieces together with wood glue and let them dry overnight.
Step 4: Paint the plywood black using a spray paint brush. Let this dry for at least 24 hours before using your new laptop stand!
Laptop Stand for Bed

You can use any material or color that you like, but we recommend using wood or metal to make it look a little more elegant.
The first thing you’ll need is some kind of base that will hold the laptop in place. We chose to use an old wooden table, but if you don’t have an old tablet lying around, you could just as easily cut some legs out of wood and glue them to the bottom of your desk or nightstand.
Then you want to build up around the base with a wooden frame that’s about an inch thick. The next step is to add some support for your laptop so that it doesn’t slide off completely when it’s on its side (which could be dangerous). For this part, we used small pieces of wood sticking out from inside our frame and then nailed them into place using screws. You could also use glue or tape if you don’t have any screws handy!
DIY Lap Laptop Stand

Here’s the drill (and some instructions):
1. Find a piece of plywood that is about the same size as your laptop screen. For example, if your screen is 12 inches wide, you’ll want to find a piece of plywood that’s at least 14 inches wide.
2. Cut out the back of your plywood so it will hold your laptop securely in place without being too bulky or heavy. If it’s too heavy, the weight will cause it to tip over when you’re not using it. But if it’s too light, your computer won’t be able to support its weight and may fall over when not in use. In other words, find a balance between these two extremes!
3. Attach two pieces of wood with hinges at either end so they can fold up against each other and lock into place when opened up completely flat against each other (this will keep them from sliding around while they are open). These hinges can be found online or in any hardware store.
Go and get one!
Although the thought of making your laptop stand may seem daunting, it doesn’t have to be. You probably already have everything you need to make one right at home. Whether you’re looking for a more eco-friendly option or just want something that better fits your needs, there is plenty of DIY laptop stands available online and in stores. Get ready to get crafty!


